


Gun Camo: Do It Yourself Tutorial
I learned this artist sponge painting technique from a guy on another forum that goes by “Rockinbbar”. I will post links to more rifles painted like this soon as several people are doing it.
Supplies needed
1. 3-4 different colors of flat/matte spraypaint (I used Rustoleum Sandstone, and primers)
2. Sandpaper (around 240, and 400)
3. Tape (easy on, easy off variety is nice)
4. Artist sponges (found at any arts/crafts store)
5. fishing line (heavy test)
6. earplug or styrofoam peanut
7. Windex/paper towels
8. tree with low/horizontal/strong branch
9. paper plates
10. some sort of medium to practice on
11. latex gloves
Select matte colors to avoid having a paintjob that reflects sunlight. I took several colors back to the store because they were reflective enough to signal an airplane with (forget about any “satin” paints).
I HIGHLY suggest you practice painting on another platform several times before painting your rifle. This will likely give you more ideas, and definitely instill confidence in your work by the time it’s time to do the gun.
Step 1. Take a deep breath, clear your head, and relax. Everything is going to be alright, and your gun will thank you afterwards.
Step 2. Sand any wood down starting with about 240, then finishing-up with about 400.
Step 3. Plug the muzzle with the earplug/Styrofoam, then tape off any areas you don’t want painted (openings in the receiver, air reservoir, scope lens, etc) It is better to cover to much of the area with tape than not enough, as touch-up will be easy; removing paint from the innards will not.. I taped-off the checkering on the wood as I didn’t want to mess with sanding it, and also thought it would look pretty neat.
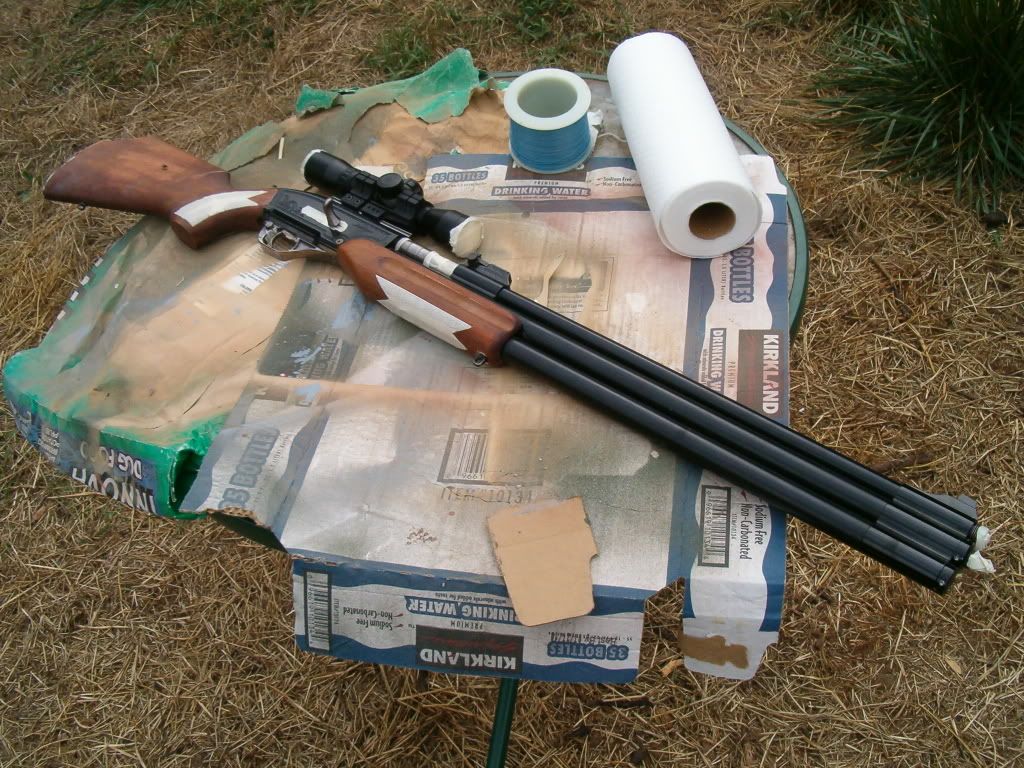
Step 4. Use the fishing line to suspend the gun from the tree at a comfortable working level to enable easy access to both sides. This allows the painting and drying of both sides of the gun simultaneously.
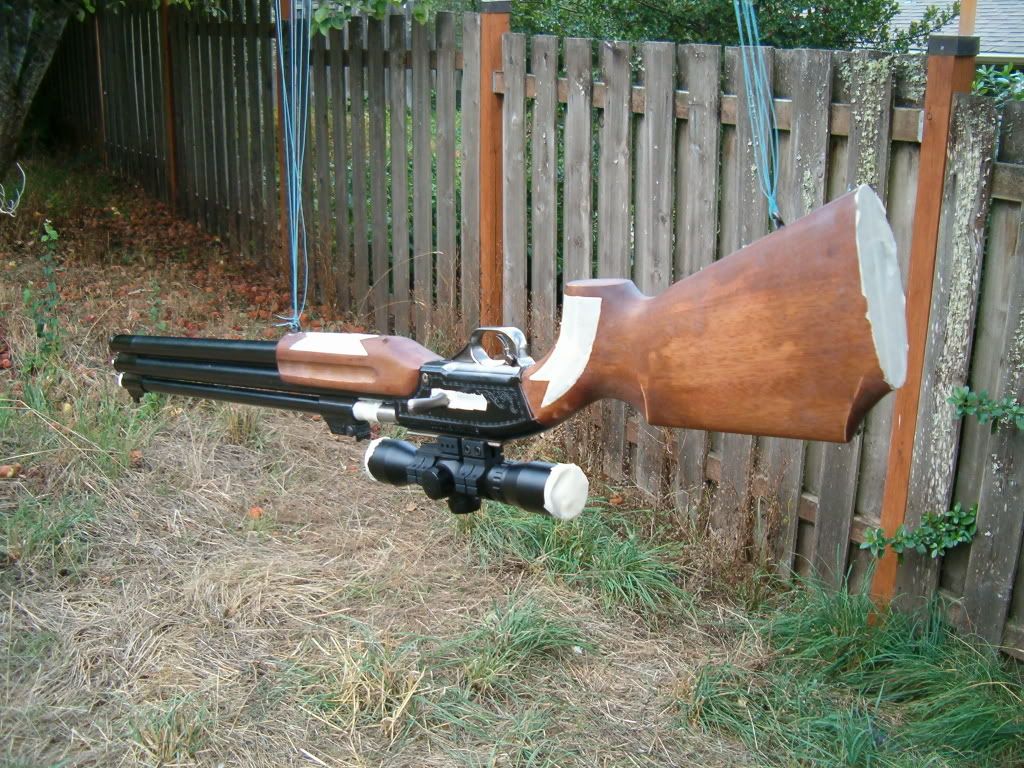
Step 5. Windex the metal surfaces of the gun to remove any dirt, and oils from your hands (I forgot to do this part).
Step 6. Double-check your tape, then take your base color of spraypaint (I suggest using the lightest of your colors for the base) and carefully spray the gun with a light layer at a time to avoid excess paint from depositing which will form a “drip”. Take particular care to go very light on the wood, and plan on doing another coat on the wood after the first one dries if necessary, as wood can absorb some paints . I learned the hard way that trying to remove any drip that may form by wiping it off, or touching it just makes it look worse, and more un-even. Allow ample drying time.
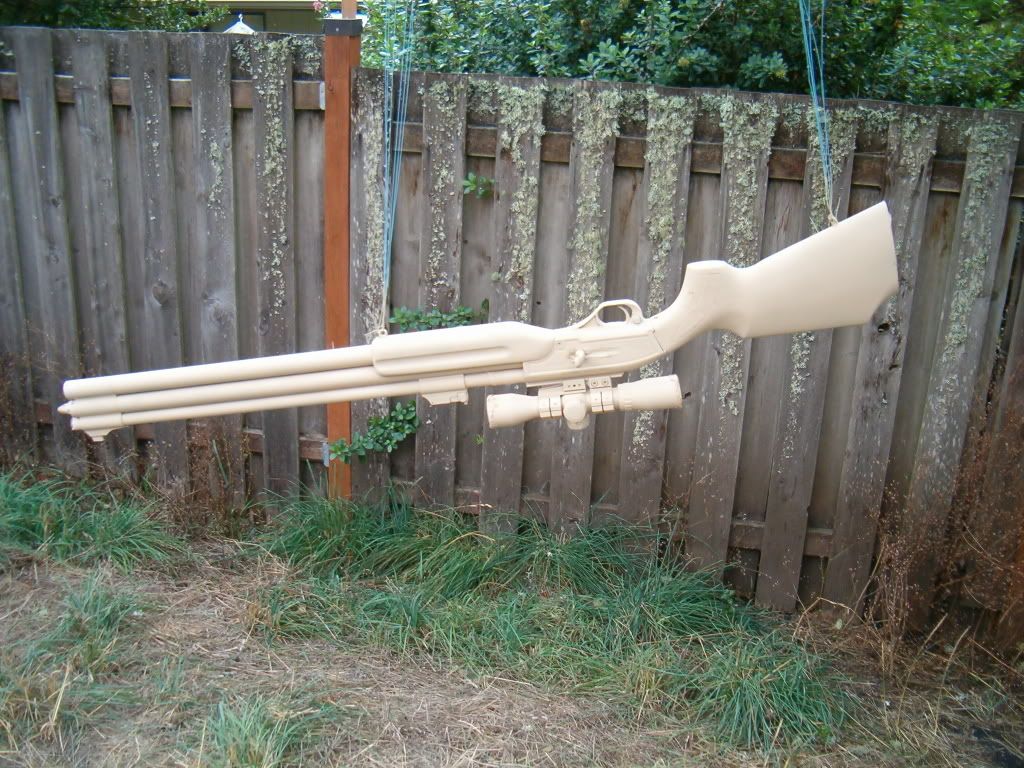
Step 7. Check the tape again. Wear latex gloves to enable steadying the rifle without depositing any oils from your skin. Take a paper plate and spray a puddle of your first color onto it. Again I suggest starting with the lightest color/shade first (in this case grey primer). After dipping the sponge into the paint, dab it onto the un-painted portion of the plate a time or two to avoid applying excess paint to the gun (it doesn’t take much). Go very generous on the pattern with this color, as the others will easily cover it. Allow ample drying time.

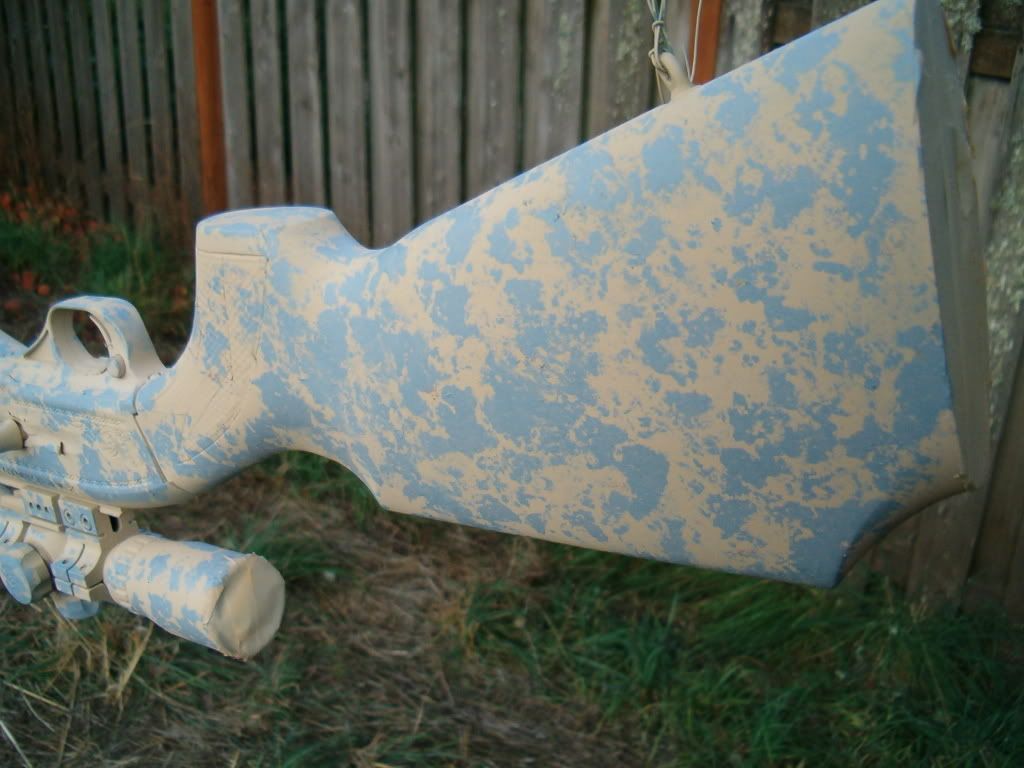
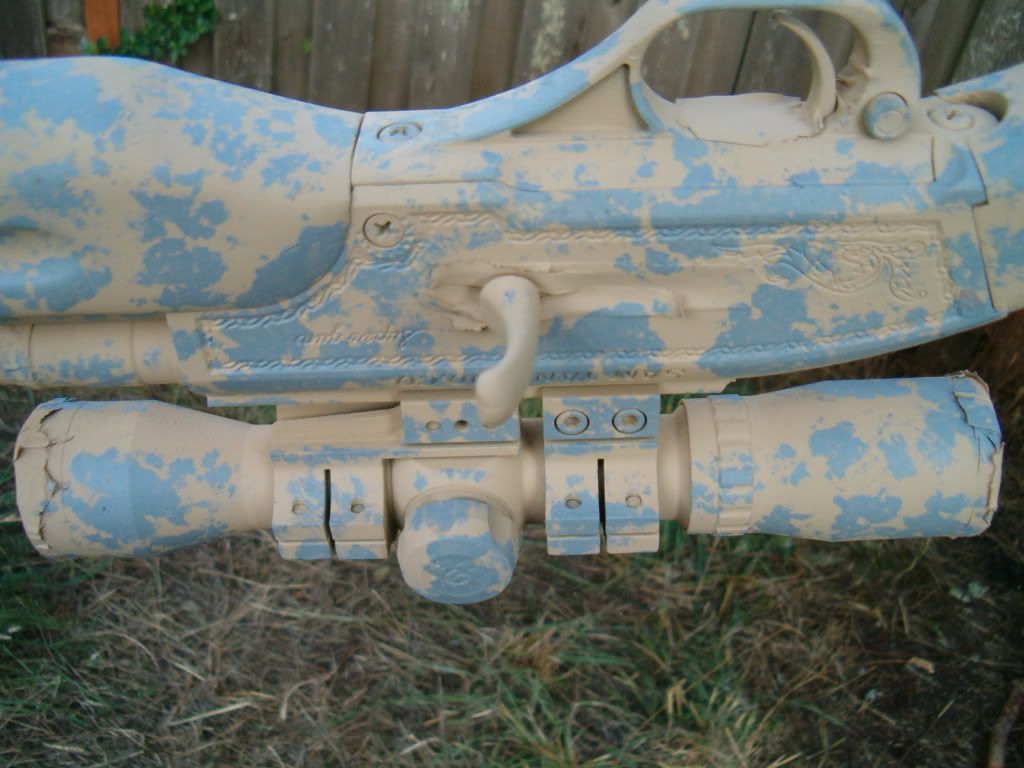
Step 8. Repeat step 7 with your next lightest color. Use a new sponge. Do not be concerned with overlap, as that is why you go heavy on the first color.
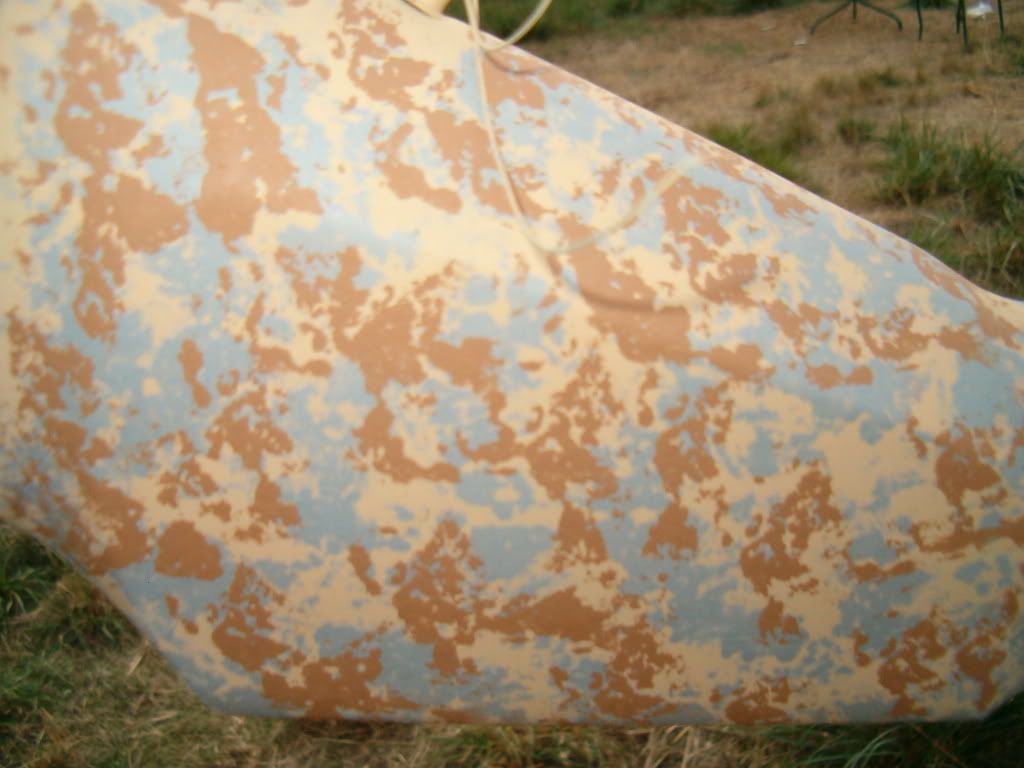
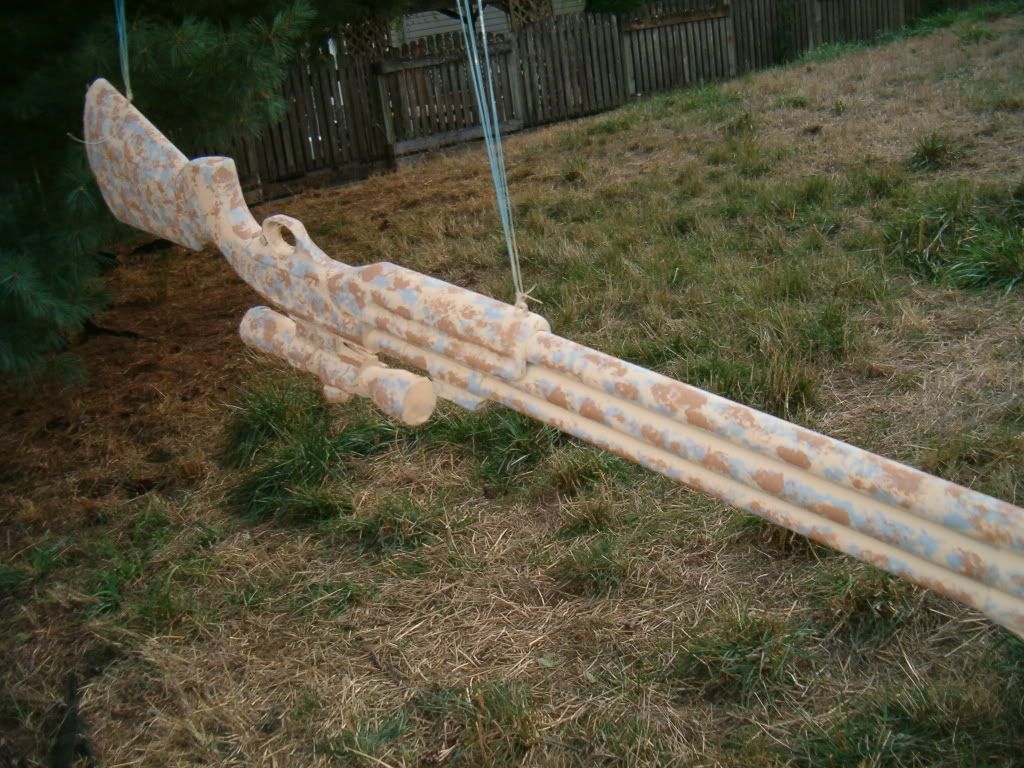
Step 9. Repeat with your darkest color. I suggest a much darker color for this phase, and that it be applied sparingly, as it is there only to help break-up any consistency in the pattern and simulate shadowing. Use a sponge with very large pores for this part to avoid excessive blotching (use the Marine Digital pattern for an example of the proper ratio of the darkest color to the rest, and how it should look). Next time I do this part I will use a smaller sponge, as this time it seemed a bit excessive in some spots. Allow drying time.
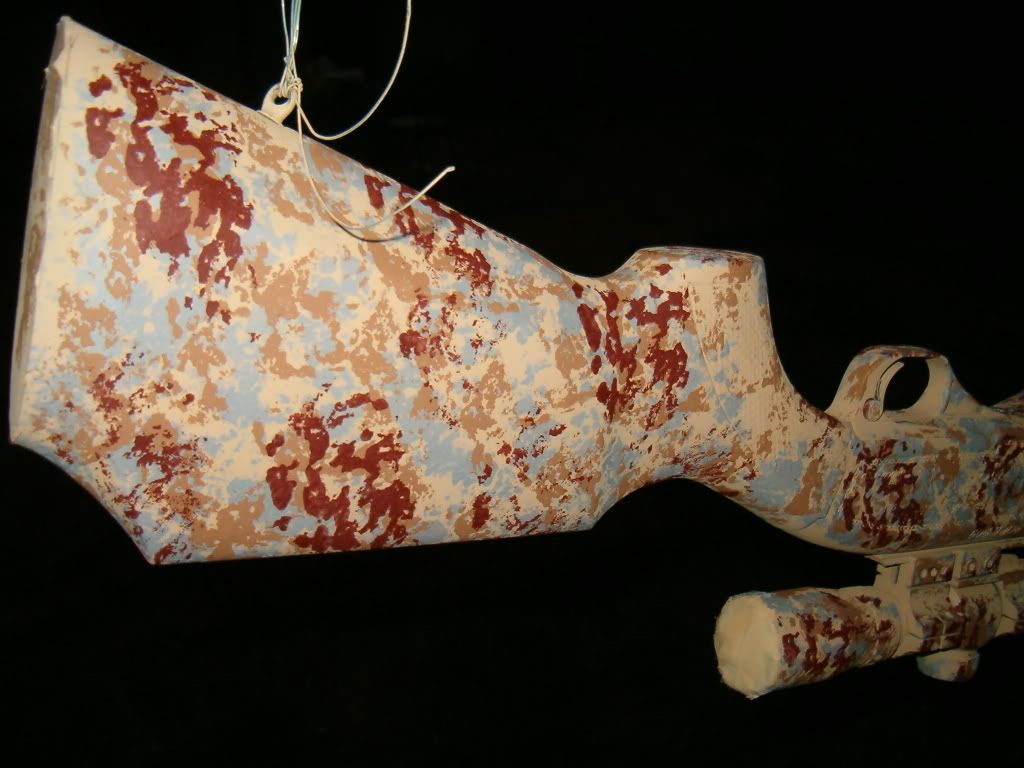
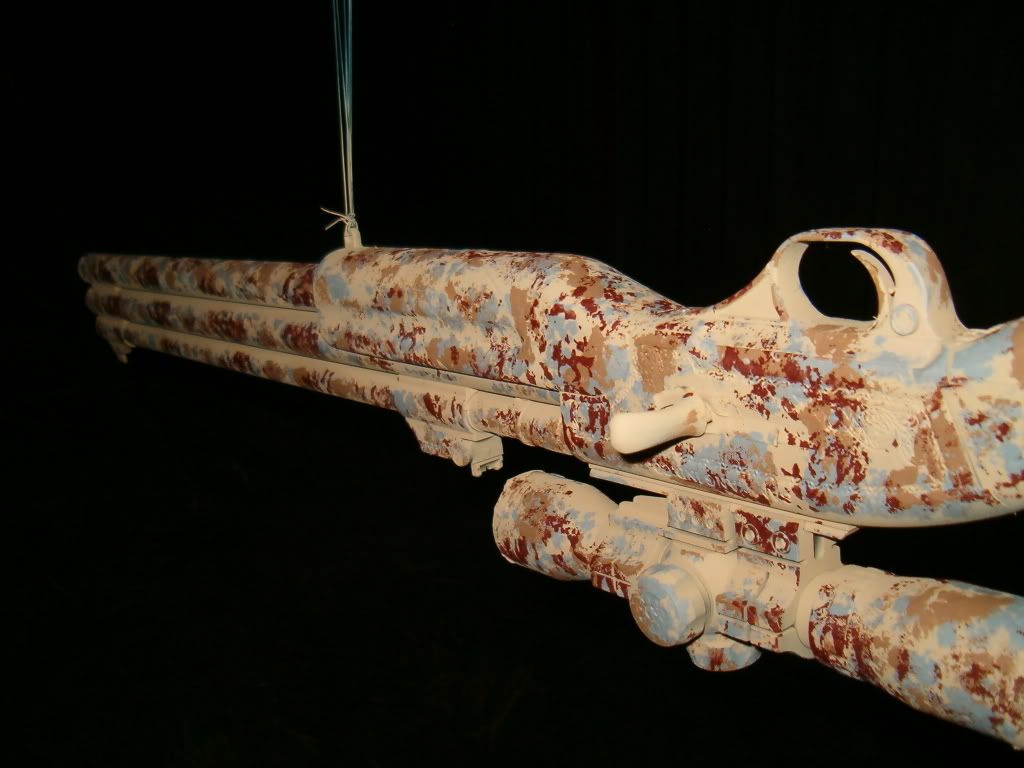
Step 10. Go out in the field and take pictures to post online (black and white is nice), then put the rifle in the garage/shed for a couple days until the paint smell goes away.
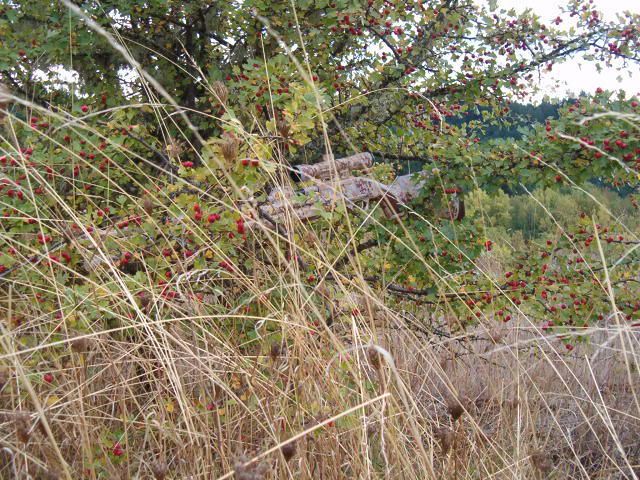

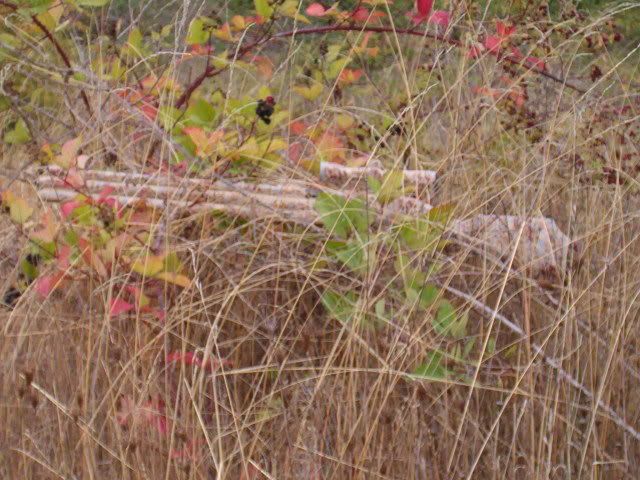
I was more concerned with shades than colors on this rifle as coyotes are the quarry I am trying to fool the most, and they can’t see most colors. Just shades. I took several colors back that were far to reflective.
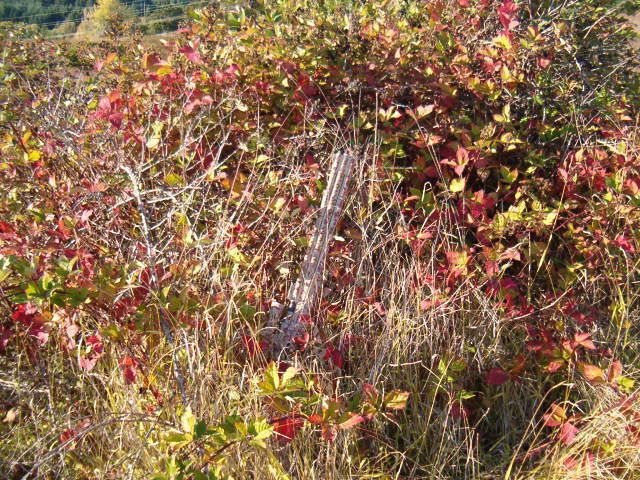
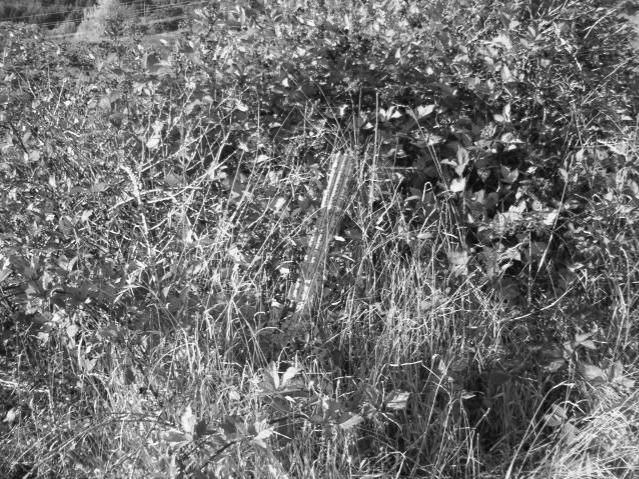
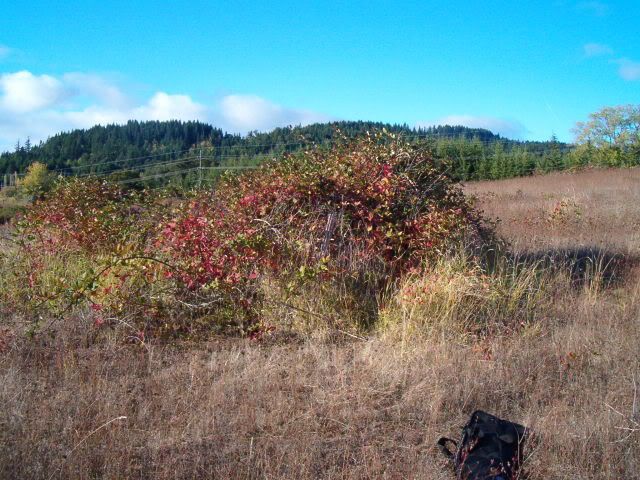
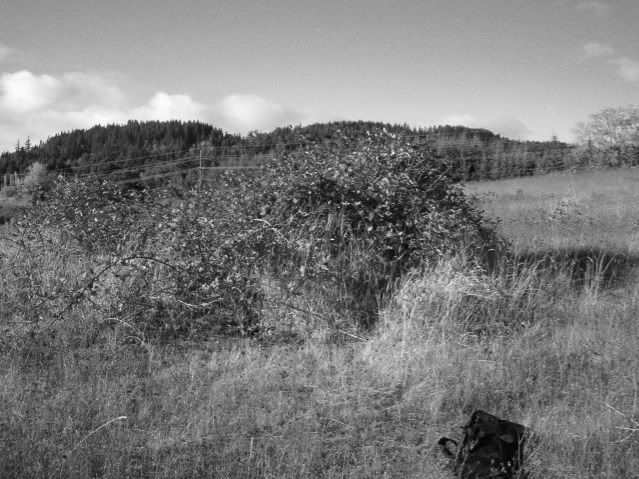
I have since figured out how to make the images black and white to see the contrast in shading. I didn’t have the camera when practicing, so I didn’t have that benefit until I got the images uploaded onto photobucket today.
I should have noticed that the grey primer and the base color I used are practically the EXACT same shade. I went over it again with more of the darker Sandstone color, and the darker primer as well. When I can find some non-reflective green I will add some of that but not much as a small amount of green has a big affect.
Looking at the true military digital camo, it is usually only three colors (or shades) anyways. Probably for a reason I guess.
Now I think it just needs some bold, dark stripes, and maybe some subtle, strategically placed black (very little) to help break up the outline, then I’ll probably leave it alone.
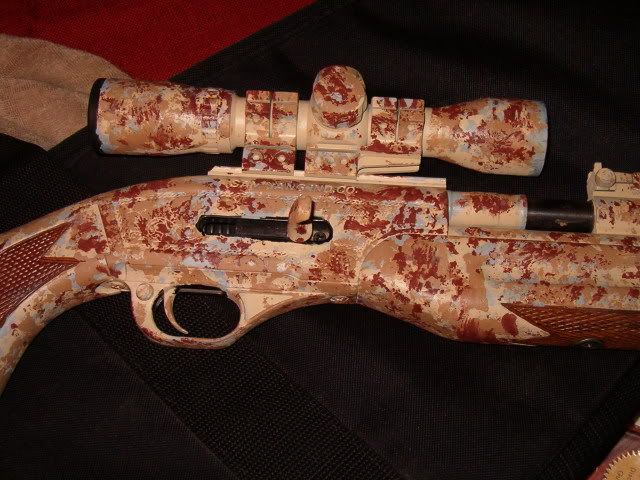
All Replies
Viewing 14 replies - 1 through 14 (of 14 total)


Viewing 14 replies - 1 through 14 (of 14 total)
- You must be logged in to reply to this topic.
This site has several interesting camo patterns.
http://www.parabelluminc.com/camographics.htm