


My home build… (pic’s)
Hi all,
I have a small update for my Talon/Condor/whatever it ends up as build…
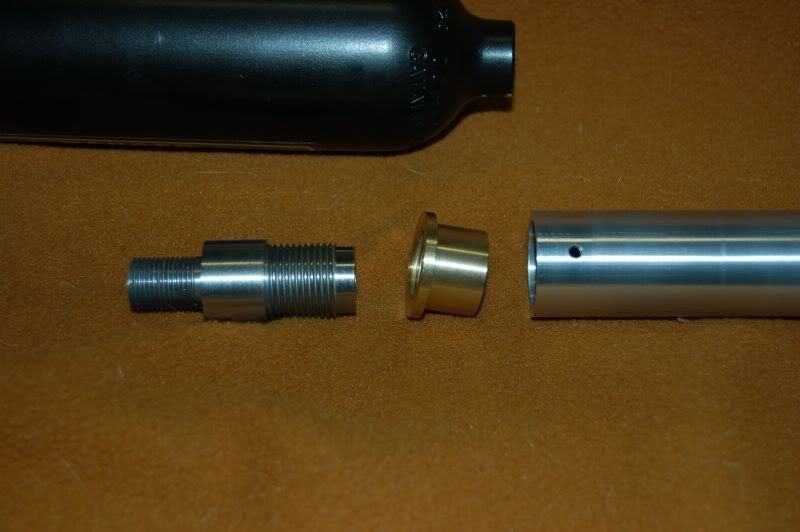
my bushing turned down and ready to be shrink fit…
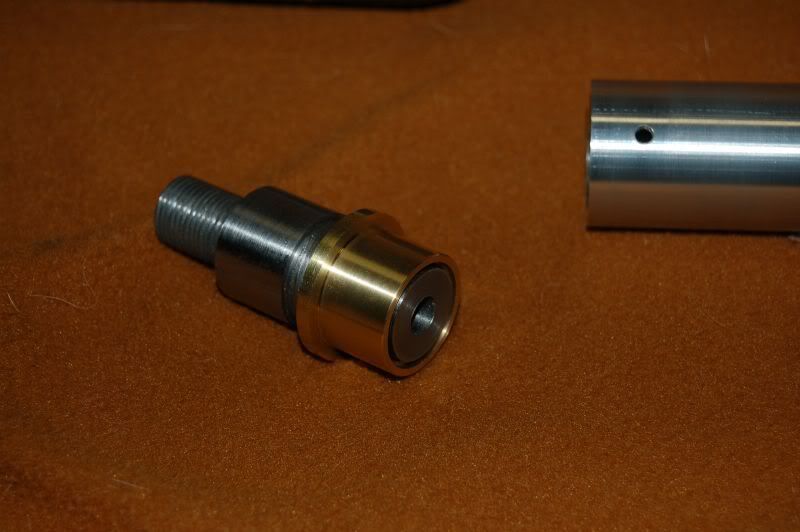
Here it is after a painfully steep learning curve with shrink fitting. The third time was the charm…
The set screws are my insurance policy in case my first ever attempt at shrink fitting turns out marginal. I’ll likely hide then under the rail and trigger group block.
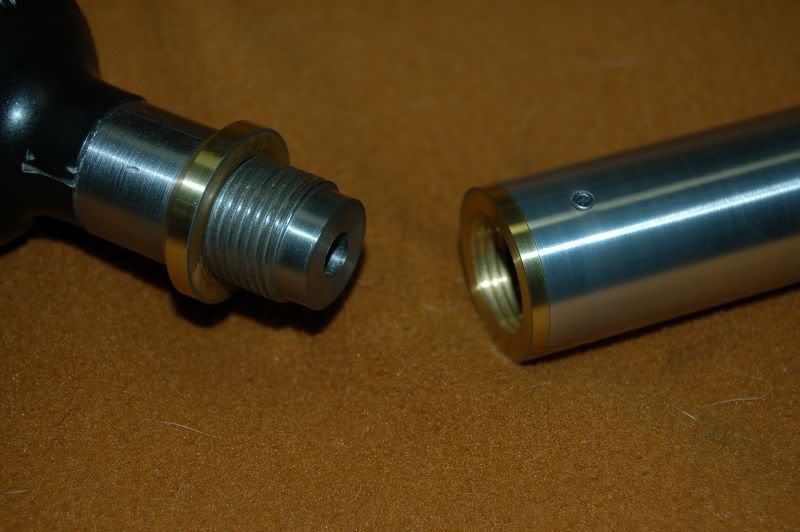
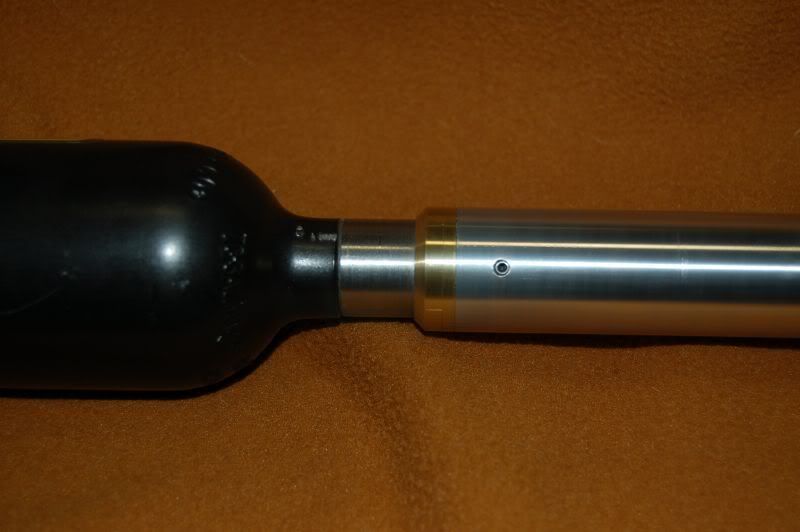
And the bits so far together.
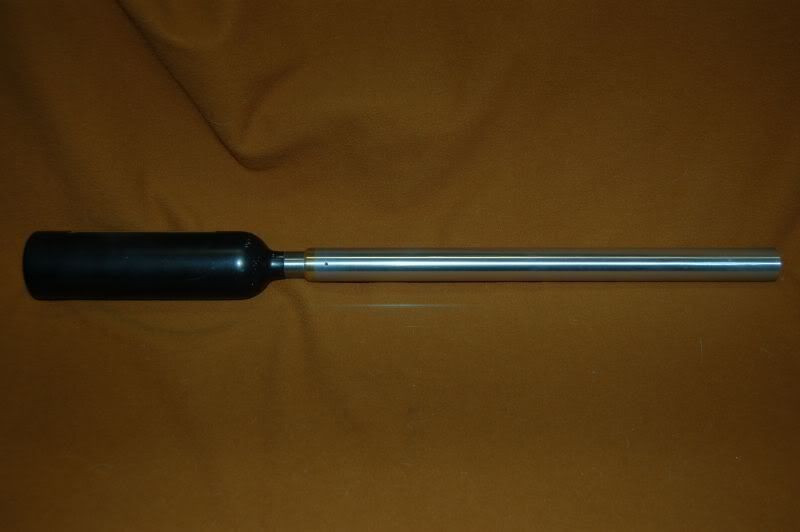
I’m going to tackle the guts of my valve this week and hopefully get the openings and slots cut into the tube.
More updates as I progress.
MB
All Replies
- You must be logged in to reply to this topic.
3 Comments
-
Pingback: ชุดเครื่องเสียง
-
Pingback: khanmotors.kz
-
Pingback: Es Welcome to Derry Staffel 2
I went with .005″ interference between the parts. A bit of searching online seemed to indicate that .002 to .004 was typical for interference fits for bearings and such, so I went with the high end thinking that aluminum would expand more than steel and permit the extra .001″. I’m planning on anchoring the rail and trigger block through the tube and into the bushing for extra security. I kept the valve body screwed into the bushing when I froze it to give it some extra thermal mass. That seemed to make all the difference when it came time for assembly. without the mass of the valve body the brass would grow too much between the time I pulled it out of the freezer and tried to set it in place.
The Aluminum is 6061-T6511, the brass is, uh…yellowy/gold? Honestly I don’t know what grade brass it is, just an off cut from metal supermarket. I would presume it is 360 ASTM B16, I think that is all they sell in rounds.
I got some bits and pieces to play with fabricating the valve internals, I’l going to give it a go tonight I hope!
MB