


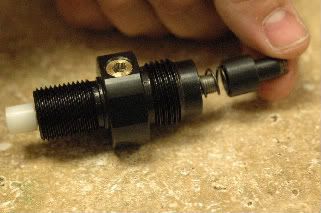
Blodnob Valve in use
Well, by fate I recon, I got out of dinner with the In-Laws and managed to get home and install the valve, test it, then install the new spring. Here are some findings, (for note my rig is an .22-SS w/75 gram brass hammer, shooting 18gr. JSB Diabolos)
After installing the valve and filling the tank, the valve did not want to seal untill the pressure dropped to around 1.4k. (hand pump, PITA!) After a few dry fires to try and seat the fresh delrin, i repressurized to 2k and still had a faint leak. Fired a few more times and that seemed to take care of the problem. Repressurized to 3k with no issues.
With the standard AF spring and a 75 gram hammer and PW@max. I was getting about the same power I did with the old valve set at PW8 (on the old setup much above 8 was a waste of air). I noticed the stock spring does not have the necessary force to fully open the valve. Time to switch springs.
BTW, I have noticed that the new valve is considerably quiter than the old one, which BTW had the o-ring mod around the stem!
New spring, what a stiff MF’r. Honestly I think it’s a little much simply because of the force required to cock the gun. The standard delrin breech slide & knob, I can see wearing out pretty quickly due to that force. Particularly where the knob and slide mate together.
Now, firing with the new spring, and the PW@min the valve is opening close to full and gun is firing harder than ever before and quitier. In my basement at 10ft, I was splintering the back side of a 2×10. Uping the PW to 4ish I didn’t notice a big difference if any.
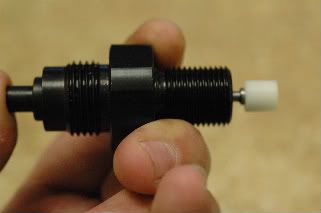
Top hat i left about where it came, maybe out a little more. make sure you tighten the lock collet on the inside of the tophat down/against the valve stem to lock it in place.
Keep in mind I have no chrony so all of my findings are based on sight and sound. Not the most accurate but I am very use to how the old setup shot and that is what I’m comparing to.
I believe that a spring somewhere inbetween the Stock & the new would be perfect and allow some useable range with the PW, and keep the breach slide and knob from wearing out quickly.
Later, brothers,…
All Replies
- You must be logged in to reply to this topic.
Blodnob Valve adjustment instructions.
First thing you have to realize, this is a valve that needs to be adjusted for your setup, when they were sent out they were only assembled and not adjusted, because everyone has different setups and calibers so here are the basic assembly and adjustments, after you have the valve setup remember never to adjust past the o ring engagement.
Step #1
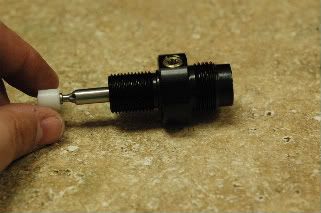
Install valve stem.
Step #2
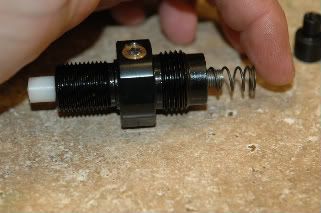
Install spring.
Step #3
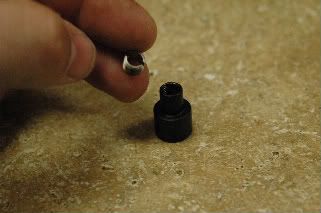
Take top hat and install set screw.
Step #4
Take top hat and install it on valve stem.
Step #5
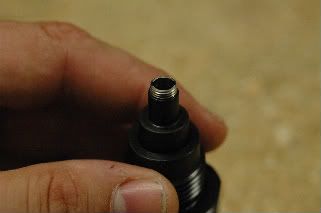
Adjust set screw until it is flush with top hat, and then screw top hat into valve until it stops on valve stem.
Step #6
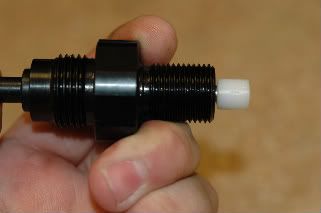
You have completed the initial adjustment and when the top hat is pressed down should look like the picture below.
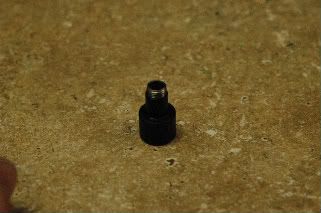
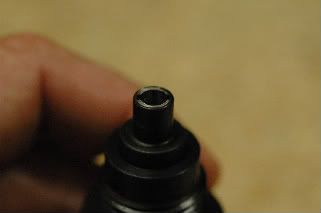
Step #7
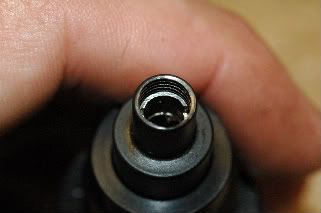
Here is a picture of how the set screw looks in the top hat when it is at full adjustment.