



Gun Vise for short guns
What gun vise do you guys use? I have a tipton best gun vise and find it challenging to level off a gun especially with these bullpups. trying to keep the gun secure to level a scope. In the market for a new one.
All Replies


You got to be kidding me???? What ever happened to sandbags that we used from trap and skeet shooting??? We paid $3.00 a bag for shot and we used the bag for our benchrest shooting…

Lurker I am having the same issue with the big clamp in the middle. since one side is straight up and the other is like a V and closes when you tighten, it doesn’t center the gun when tightened.
The first shipment was as a gun vise at $130 and today’s package was the Pistol Rest and Rifle Rest listed for $60.
😯 an interesting thing is that with the RESTs package is a stick on CARPET for the front Y Rest. I’ve been using the gun vise setup with just the foam rubber pad and wondered what the Carpet Strip was for so I had to read the instructions 😳
Now for some FUXINEERING ❗
Since the Vulcan stock slants up to the rear, initially I’ve turned the rifle rest the opposite of what was pictured :whistle:
Also, I want to keep all the parts together so I’ve left the Clamp on moving it forward.
But my super O-rings holding the Clamp halves together were so much over snug that the left Clamp pushed the rifle to the right. So, I removed the tightest O-ring and it’s acceptable now.
To adjust the Rest to the angle of the stock I pinch the plate and stoch together and then adjust the Adjuster Nut to match.
What configuration works for others ❓


Finally got the RESTs of the 2part package.
The first shipment was as a gun vise at $130 and today’s package was the Pistol Rest and Rifle Rest listed for $60.
😯 an interesting thing is that with the RESTs package is a stick on CARPET for the front Y Rest. I’ve been using the gun vise setup with just the foam rubber pad and wondered what the Carpet Strip was for so I had to read the instructions 😳
Now for some FUXINEERING ❗
Since the Vulcan stock slants up to the rear, initially I’ve turned the rifle rest the opposite of what was pictured :whistle:
Also, I want to keep all the parts together so I’ve left the Clamp on moving it forward.
But my super O-rings holding the Clamp halves together were so much over snug that the left Clamp pushed the rifle to the right. So, I removed the tightest O-ring and it’s acceptable now.
To adjust the Rest to the angle of the stock I pinch the plate and stoch together and then adjust the Adjuster Nut to match.
What configuration works for others ❓

Donny you are a maniac with all those levels
Got mine this morning.
No hurry, took me 1 1/2 hours to assemble correctly :rofl:
I had to remove a plastic end cap on top of the clamp to put the lock nut inside.
Everything is very well made including the girly pony tail twisty (clamp tensioner).
I tried using it but felt the clamp base needed more tension.
So I needed 2 BIG o-rings to hold the clamp bases together but only had 1.
Also, using o-rings you have to roll them off the clamp bases to remove the clamp.
For now I used a really tight but heavy o-ring.
Only drew a small drop of blood when my o-ring hook slipped off 😳
Use:
Clamp and Y fork are very well padded. It clamps very securely.
The 3 adjustable feet are well designed and can make due as an inexpensive bench rest.
The only drawback would be while elevating or lowering the rubber feet may be slightly off center and skew the POI sideways back and forth while turning the knob.
Someone suggested filling the steel tubing with lead shot but it may be heavy enough for air rifles as is.
It’s not a light weight toy or flimsy plastic ❗
For my Vulcan I wish it were two inchs shorter in length but works fine.


You guys would have to get on these CTK Precision vise-gun rests, now I have one coming also. Regards, Tom
The Hyskore clamping mechanism looks good but having 2 tubes and 4 feet appears unstable For a shooting/sighting platform.
That’s probably why its sold as a cleaning vice.
When shooting to align, if you adjust just 1 of the 4 feet i think it would twist the frame and move the POI sideways as well as up or down.
Thanks for the feedback everyone. The P3 vise arrived today and took me about 30 mins to put together. After everything was screwed in, it is very solid and easy to level everything.


I went ahead and ordered the rear gun rest as well for more precision leveling. I have the vortext bubble level and like them a lot because the tighening screw is on top. Others i have, the adjustment screw is underneath which makes it hard to keep still when tightening.
If others are looking for a vise but don’t want to spend a lot of money, I found this one as I was purchasing the rear P3 shooting rest. Very similar and cheaper.

^I personally prefer a more traditional scope mounted bubble level. The flip out feature is cool but if it’s not 90* perpendicular to your scope tube, wouldn’t the bubble level indicator be off if you’re aiming/shooting something at an angle? Some guys like rail mounted bubble levels but in my opinion some rails can be off due to the rail itself or the bubble level mount. It also leaves no adjustments if either are not machined 100% accurate. With a traditional bubble level, you can adjust it 360* and can assure it’s plumb with your reticle which is the utmost important aspect.

I just recieved my level, it looks like this and is called Wheeler engineering anti cant indicator.


Sounds like you guys need a scope bubble level. It really makes mounting a scope on your gun a lot less work if your reticle is plumb with the scope bubble level to begin with.
If you’re on a budget, get the Vortex one. If you want to splurge a little, get the Holland of Flatline Ops.


Then get an picatinny rail like this below. I prefer aluminum and 6″-8″ should be fine for most length scopes.

Pre-installing Rings & Scope Bubble Level Steps
#1 Use this rail pictured above and place it on a level surface like kitchen counter top. Use the mini levels like Greg said and make sure the surface is level first, then place the mini level(s) on the rail to confirm it too is level. Maybe one on each end of the rail if you’re OCD. Btw, these mini levels are made of cheap plastic so they might not be the most accurate devices so use your best judgement after verifying which side is most accurate and mark it as Greg has suggested.
#2 Install bottom half of your scope rings onto this rail and reconfirm the rail is level once placed back on the kitchen counter top. Btw, this method of preinstalling your bubble level and rings only works if your rings have a separate tightening bolt/screw that allows for your rings to detach from the rail (silver/grey portion). Something like these Nightforce for example although cheaper ring options are readily available.

#3 Place the scope on the rings. You can play around with the spacing and etc depending on your scope.
#4 Now install the scope bubble level onto the scope and using a plumb line, level the scope bubble to your vertical reticle. This can be a bitch to accomplish with the Vortex or Holland since it has 2 tightening screws. Luckily you should only have to do this once and once the scope bubble is level to your reticle, you’ll never have to do this procedure again. Plus doing this via a rail on a level surface as oppose to on your gun mounted to a vise in my opinion reduced the margin of error and headache involved.
#5 Since your scope bubble level is now plumb with the reticle, attach the top portion of your scope rings and tighten using an X-pattern. During this procedure, make sure the scope level bubble and mini levels are all level. (Hence I prefer to use an aluminum rail as oppose to a polymer rail in this test rig. It will reduce any flex once things are tighten down).
#6 Final step is basically transferring your scope with rings already attached onto your gun. You know your scope bubble is level and reticle is plumb so you don’t have to fiddle with it on a gun vise.
Without a scope bubble level, what I’ve noticed is sometimes when I shoulder my bullpup the reticle looks perfectly vertical to my eyes however when I glance over at my bubble level, I realize how canted my scope actually is. It really depends on how you rest your cheek on the breech so having a scope bubble level to me really helps. It might not make a difference on a 25-50 yd shot but longer shots with holdovers will be impacted.
Yep, that should help. I hadn’t heard of or thought of tightening (snugging) both sides at the same time.
Merry Christmas
Edmund

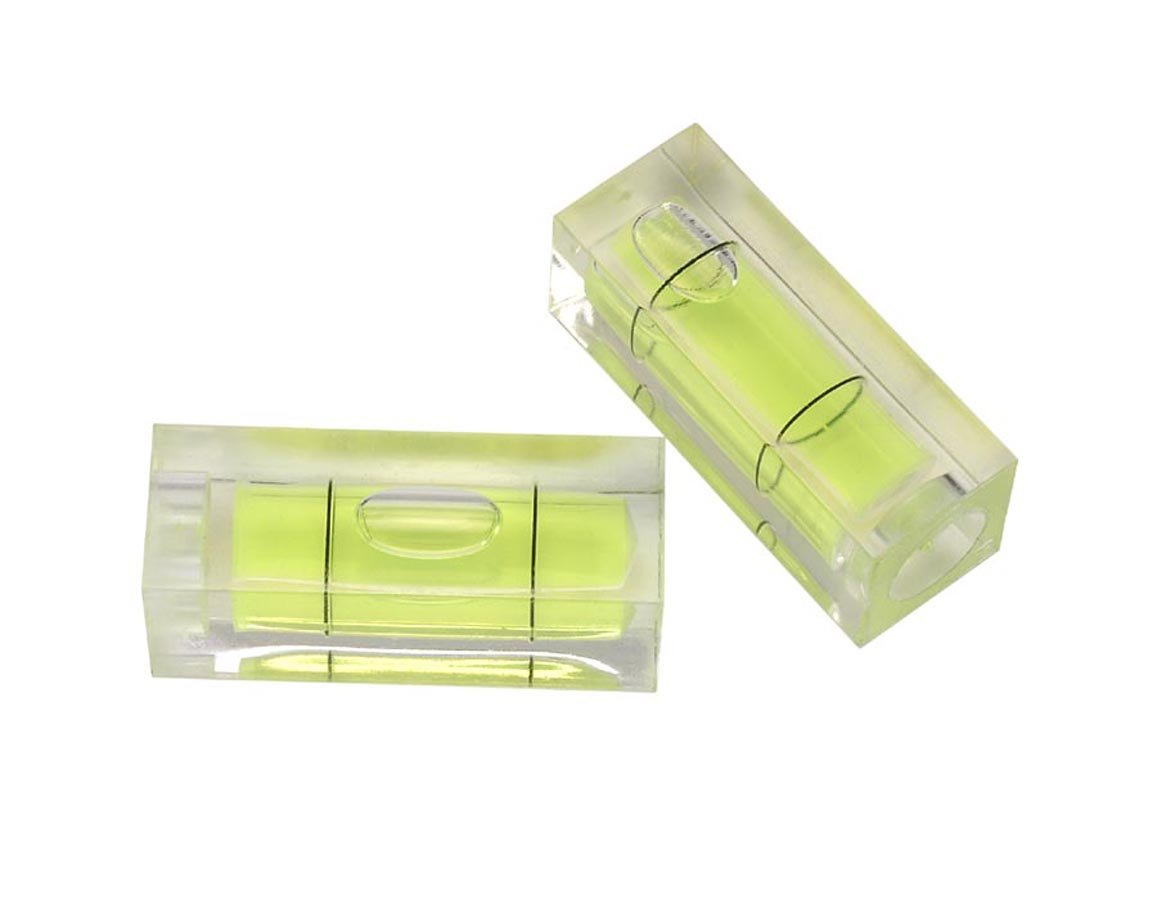
I found these for cheap at my local hardware store.
I flip them over till they where calibrated to each other and marked them for use again later.

Placed one on the scope and one on the receiver or rail, and level both to each other by turning/rotating the scope..
Trick is to first lightly tighten down 2 hex screw at the same time, this will help to keep the scope from rotating slightly off.
Then crisscross tighten with a torque drive.

Hope that helps yah.
Merry Christmas
~ Greg
donnyfl,
I didn’t want to drop over a grand for one of those BR vice grips but will appreciate a solid platform for re-mounting 😳 my scopes. When I get bored I start changing stuff from one rifle to another and I’m never completely certain if the crosshairs are level because of the rack I’ve been using. Yep, I have level level and other levels as well as a plumb line.
Oh, I’m thinking a second clamp might be useful for when I pull my Vulcan barrel for polishing. Maybe I could turn it into a 12 sided smooth bore :rofl:
- You must be logged in to reply to this topic.
Actually, I found mine all in the basement on the bench of my 20 yard shooting range. :suprisedn: